环境
hardhat3.1.8、nodejs22.22、win11
安装初始化
安装
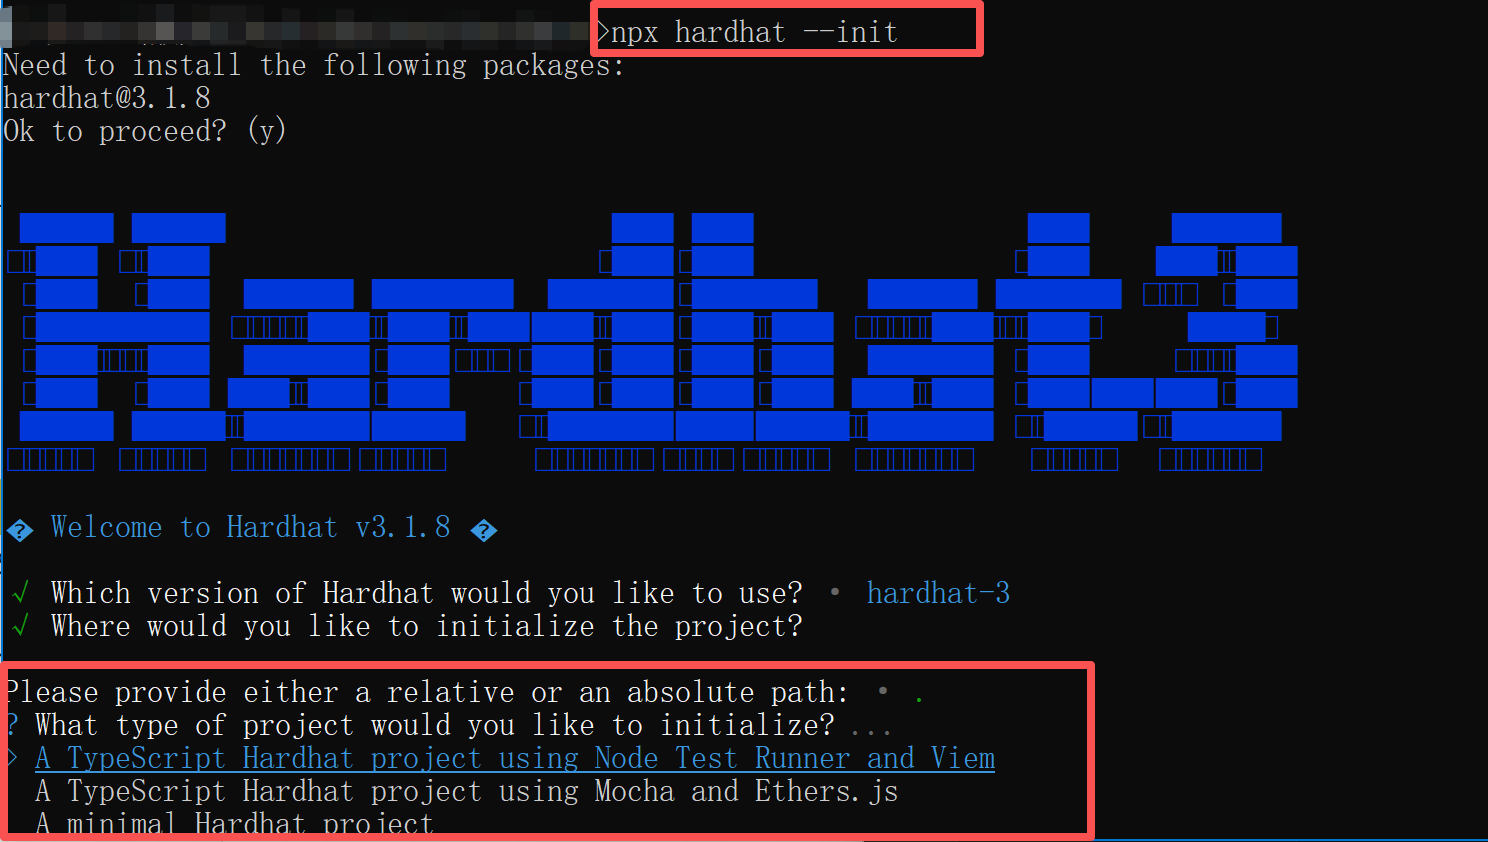
npx hardhat –init
有三种初始化方式,先选择了minimal Hardhat project,minimal只包含 Hardhat 核心功能,无测试框架:不预装 Mocha/Chai 或 Node Test Runner,无 Web3 库:不包含 Ethers.js、Viem 等
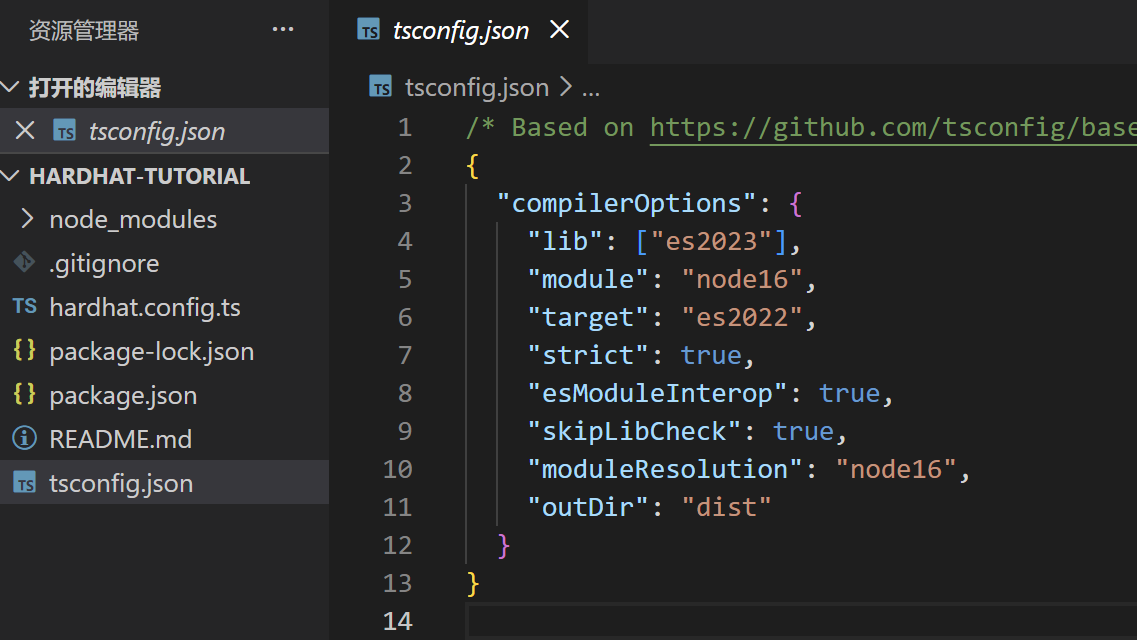
生成项目结构:
基础命令
-
编译,编译后会生成artifacts目录
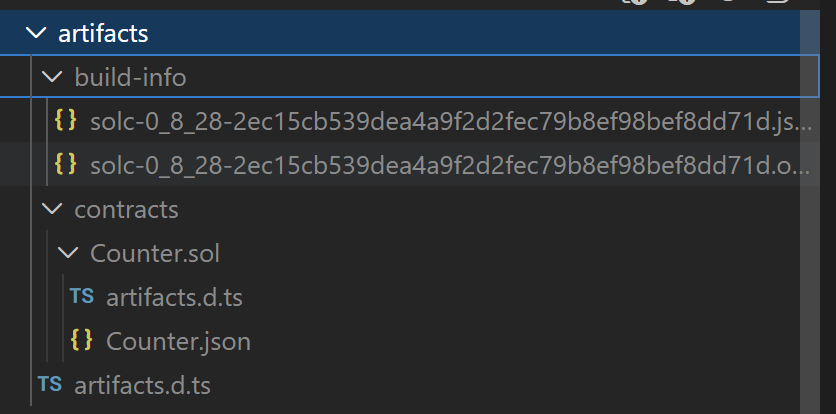
npx hardhat build
-
测试所有test
npx hardhat test
-
仅测试solidity test
npx hardhat test solidity
-
仅测试typescript test
npx hardhat test nodejs
-
安装forge插件,可以进行更复杂的测试
forge install foundry-rs/forge-std@v1.11.0
TypeScript 测试
 1
 2
 3
 4
 5
 6
 7
 8
 9
10
11
12
13
14
15
16
17
18
19
20
21
22
23
24
25
26
27
28
29
30
31
32
33
34
35
36
37
38
39
40
41
42
43
44
45
46
47
48
49
50
51
52
53
54
55
56
57
|
// Node.js 内置的严格断言模块
import assert from 'node:assert/strict';

// Node.js 20+ 内置的测试框架
import { describe, it } from 'node:test';

// 用于连接 Hardhat 网络并获取 Viem 客户端
import { network } from 'hardhat';

// 使用 describe 定义一个名为 "Counter" 的测试套件
describe('Counter', async function () {
	// Viem 是 TypeScript-first 的 Web3 库,比 Ethers.js 更类型安全、模块化。
	const { viem } = await network.connect();

	// 返回一个 只读客户端,用于查询链上数据(如区块、余额),监听合约事件
	const publicClient = await viem.getPublicClient();

	it('The sum of the Increment events should match the current value', async function () {
		//自动查找 artifacts/contracts/Counter.sol/Counter.json,使用默认 signer 部署合约,返回一个 Viem 合约实例,包含 .write(写)、.read(读)、.abi 等属性
		const counter = await viem.deployContract('Counter');

		//获取部署时的最新区块号,后续用它作为 fromBlock,确保只监听部署之后的事件,避免抓到历史噪音事件
		const deploymentBlockNumber = await publicClient.getBlockNumber();

		// run a series of increments
		for (let i = 1n; i <= 10n; i++) {
			await counter.write.incBy([i]);
		}

		// events 是一个 类型化的数组,每个 event.args.by 是 bigint
		const events = await publicClient.getContractEvents({
			address: counter.address, //合约地址(必填)
			abi: counter.abi, //ABI(必填,用于解析事件)
			eventName: 'Increment', //事件名(可选,不填则返回所有事件)
			fromBlock: deploymentBlockNumber, //起始区块(默认:0n)
			strict: true, //严格模式(ABI 必须完全匹配)
			/**
            toBlock: 456n,  不必填,结束区块(默认:'latest')
			args: {
                by是Counter.sol中定义的event的参数名
				by: 5n,
				或范围:by: { gt: 3n, lt: 10n }
                或地址:to: aliceAddress (from: aliceAddress)
			},
             */
		});

		// 0n 是 JavaScript/TypeScript 中表示 BigInt 类型字面量的原生语法,精度整数仅受内存限制,理论上无上限
		let total = 0n;
		// 遍历所有事件,累加 by 字段
		for (const event of events) {
			total += event.args.by;
		}

		assert.equal(total, await counter.read.x());
	});
});
|
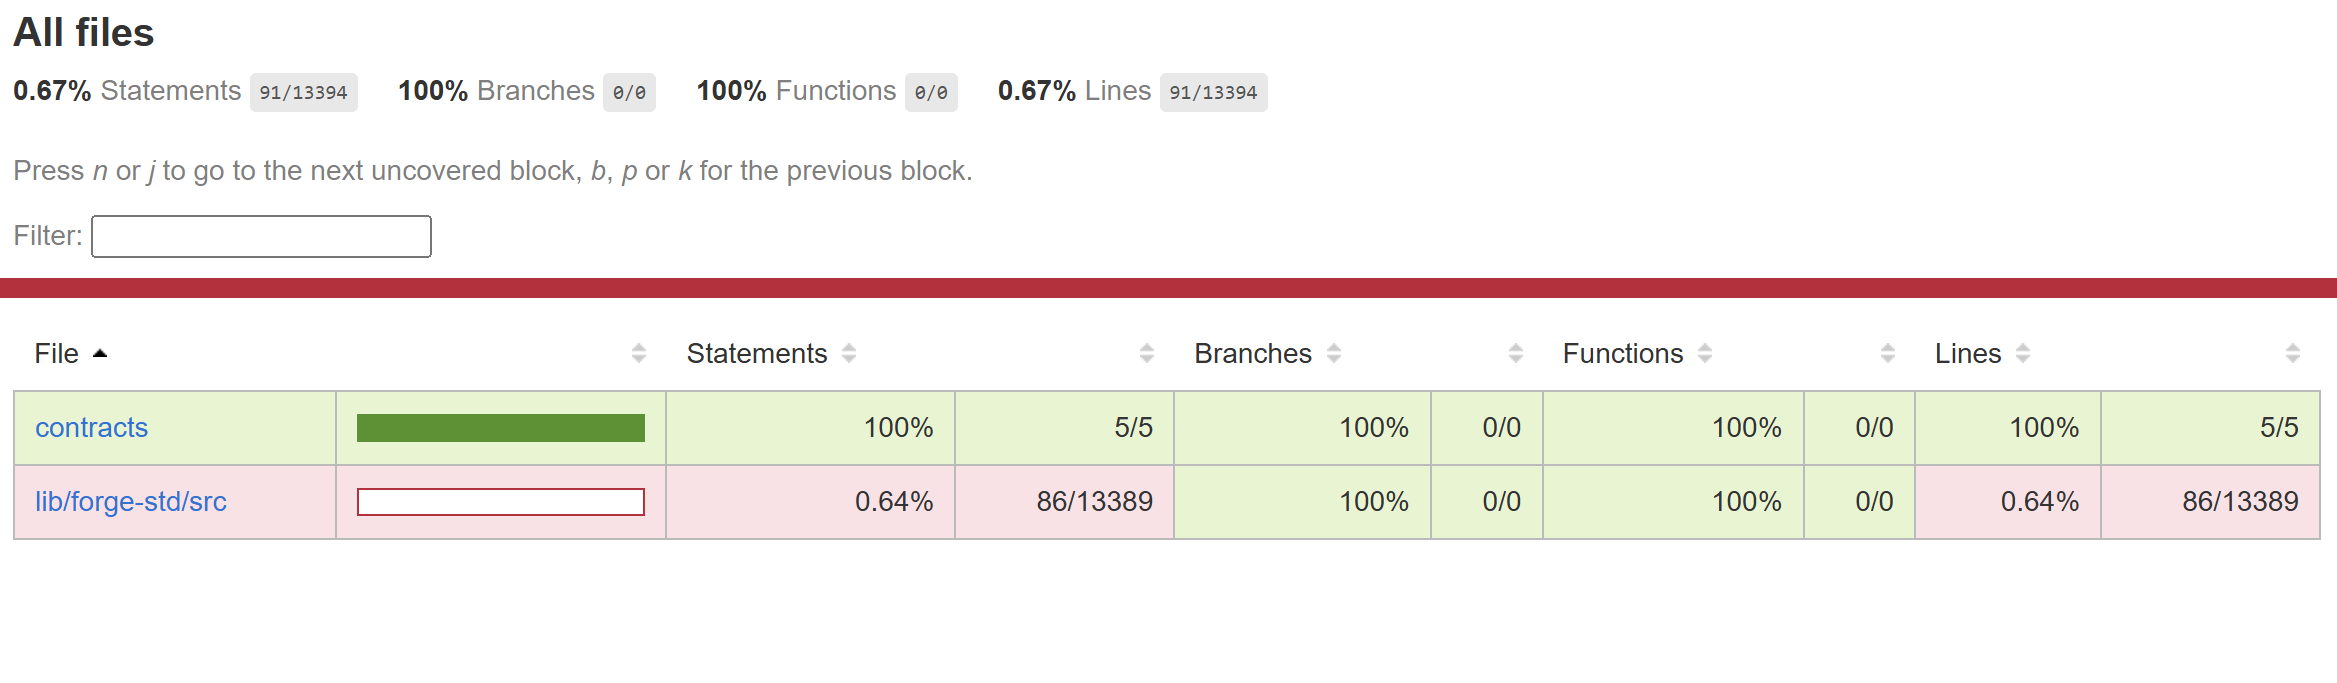
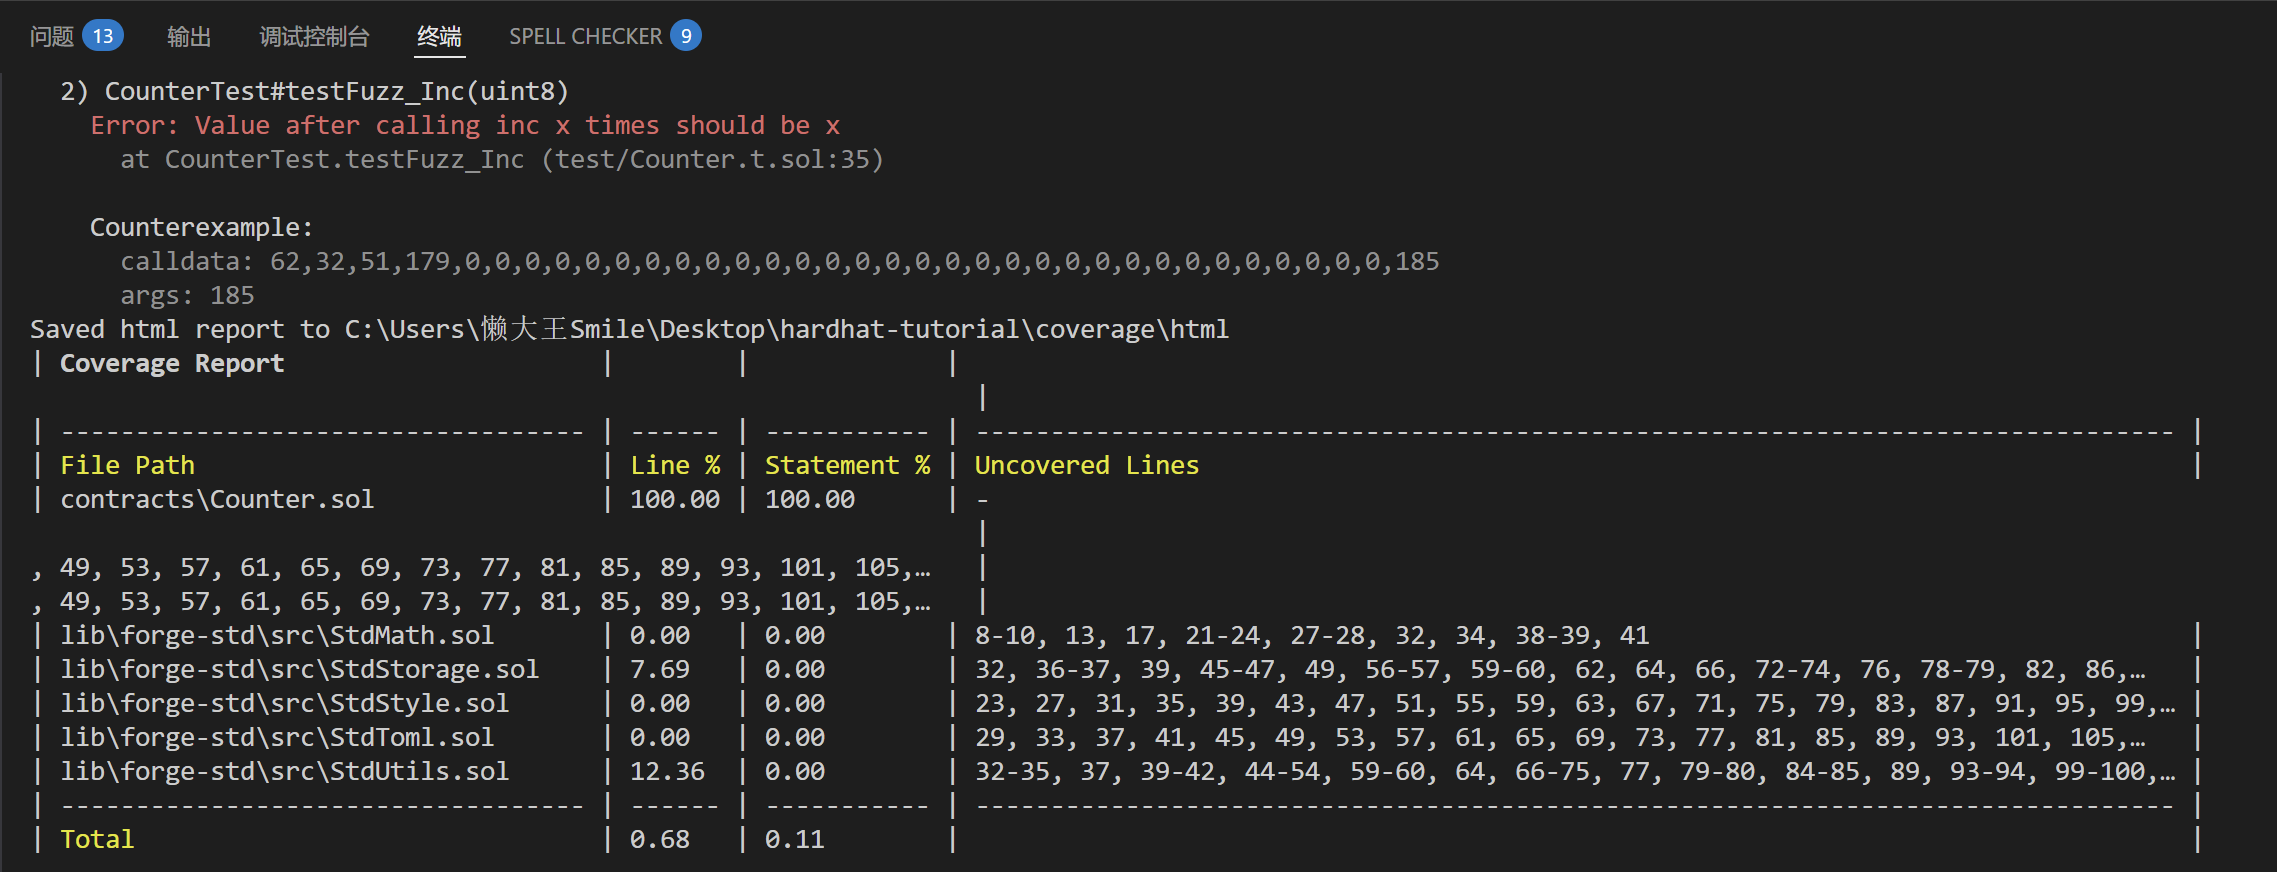
solidity覆盖测试
npx hardhat test solidity –coverage
执行后生成coverage目录
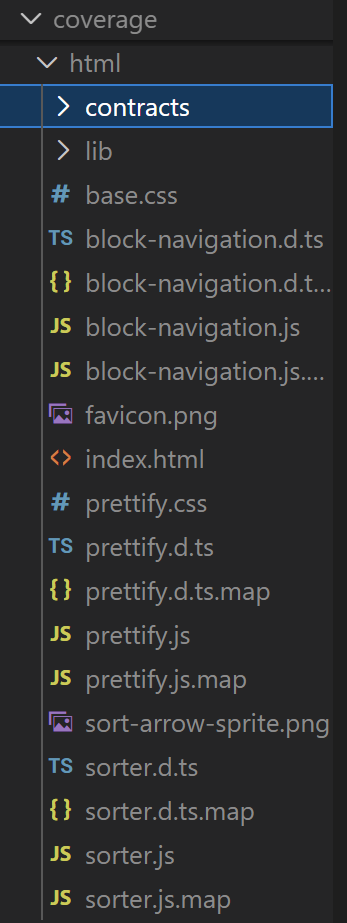
打开html
终端输出
nodejs覆盖测试
npx hardhat test nodejs –coverage
全部覆盖测试
npx hardhat test –coverage
部署
部署脚本
 1
 2
 3
 4
 5
 6
 7
 8
 9
10
|
// ignition\modules\Counter.ts
import { buildModule } from "@nomicfoundation/hardhat-ignition/modules";

export default buildModule("CounterModule", (m) => {
  const counter = m.contract("Counter");

  m.call(counter, "incBy", [5n]);

  return { counter };
});
|
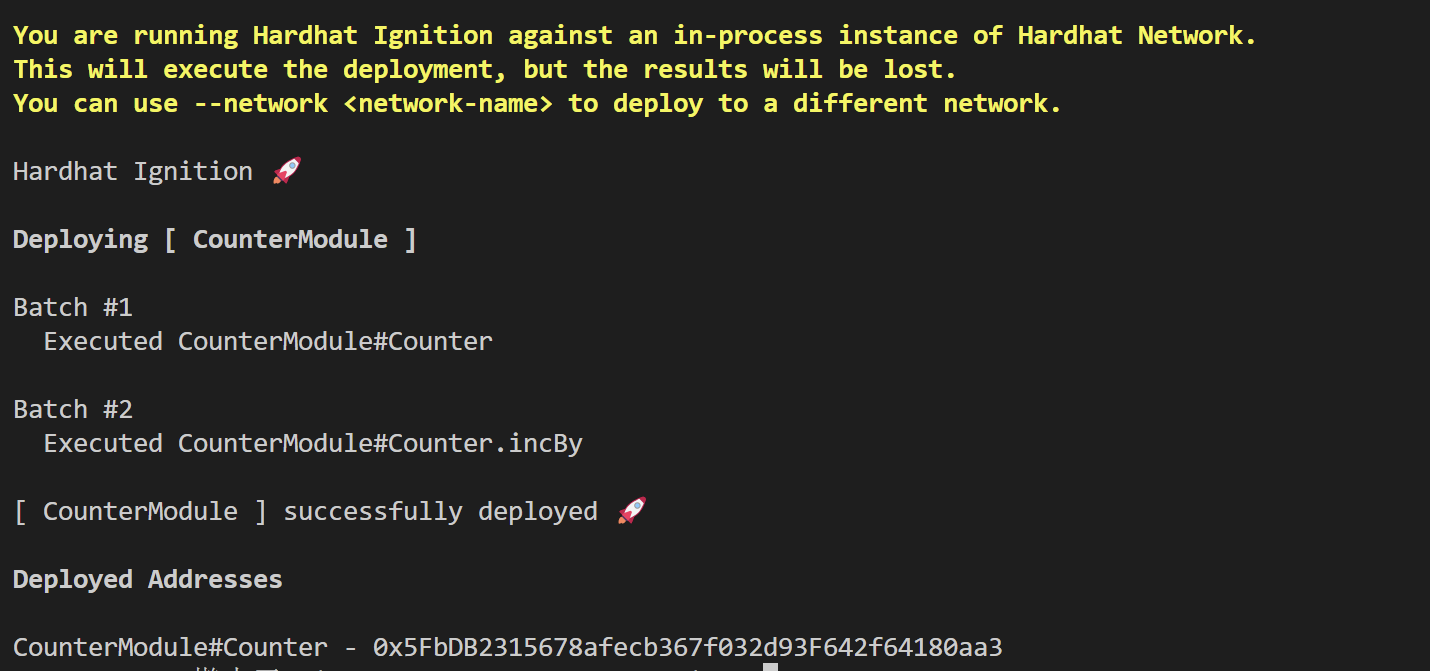
部署到默认网络(通常是 hardhat),可以在hardhat.config.ts 中 defaultNetwork 指定的网络
npx hardhat ignition deploy ignition/modules/Counter.ts
显式指定 localhost 网络,要求已启动一个节点。可以连接到已运行的本地节点(如 anvil的8545端口 或 hardhat node内置节点)
启动hardhat内置节点
npx hardhat node
npx hardhat ignition deploy ignition/modules/Counter.ts –network localhost
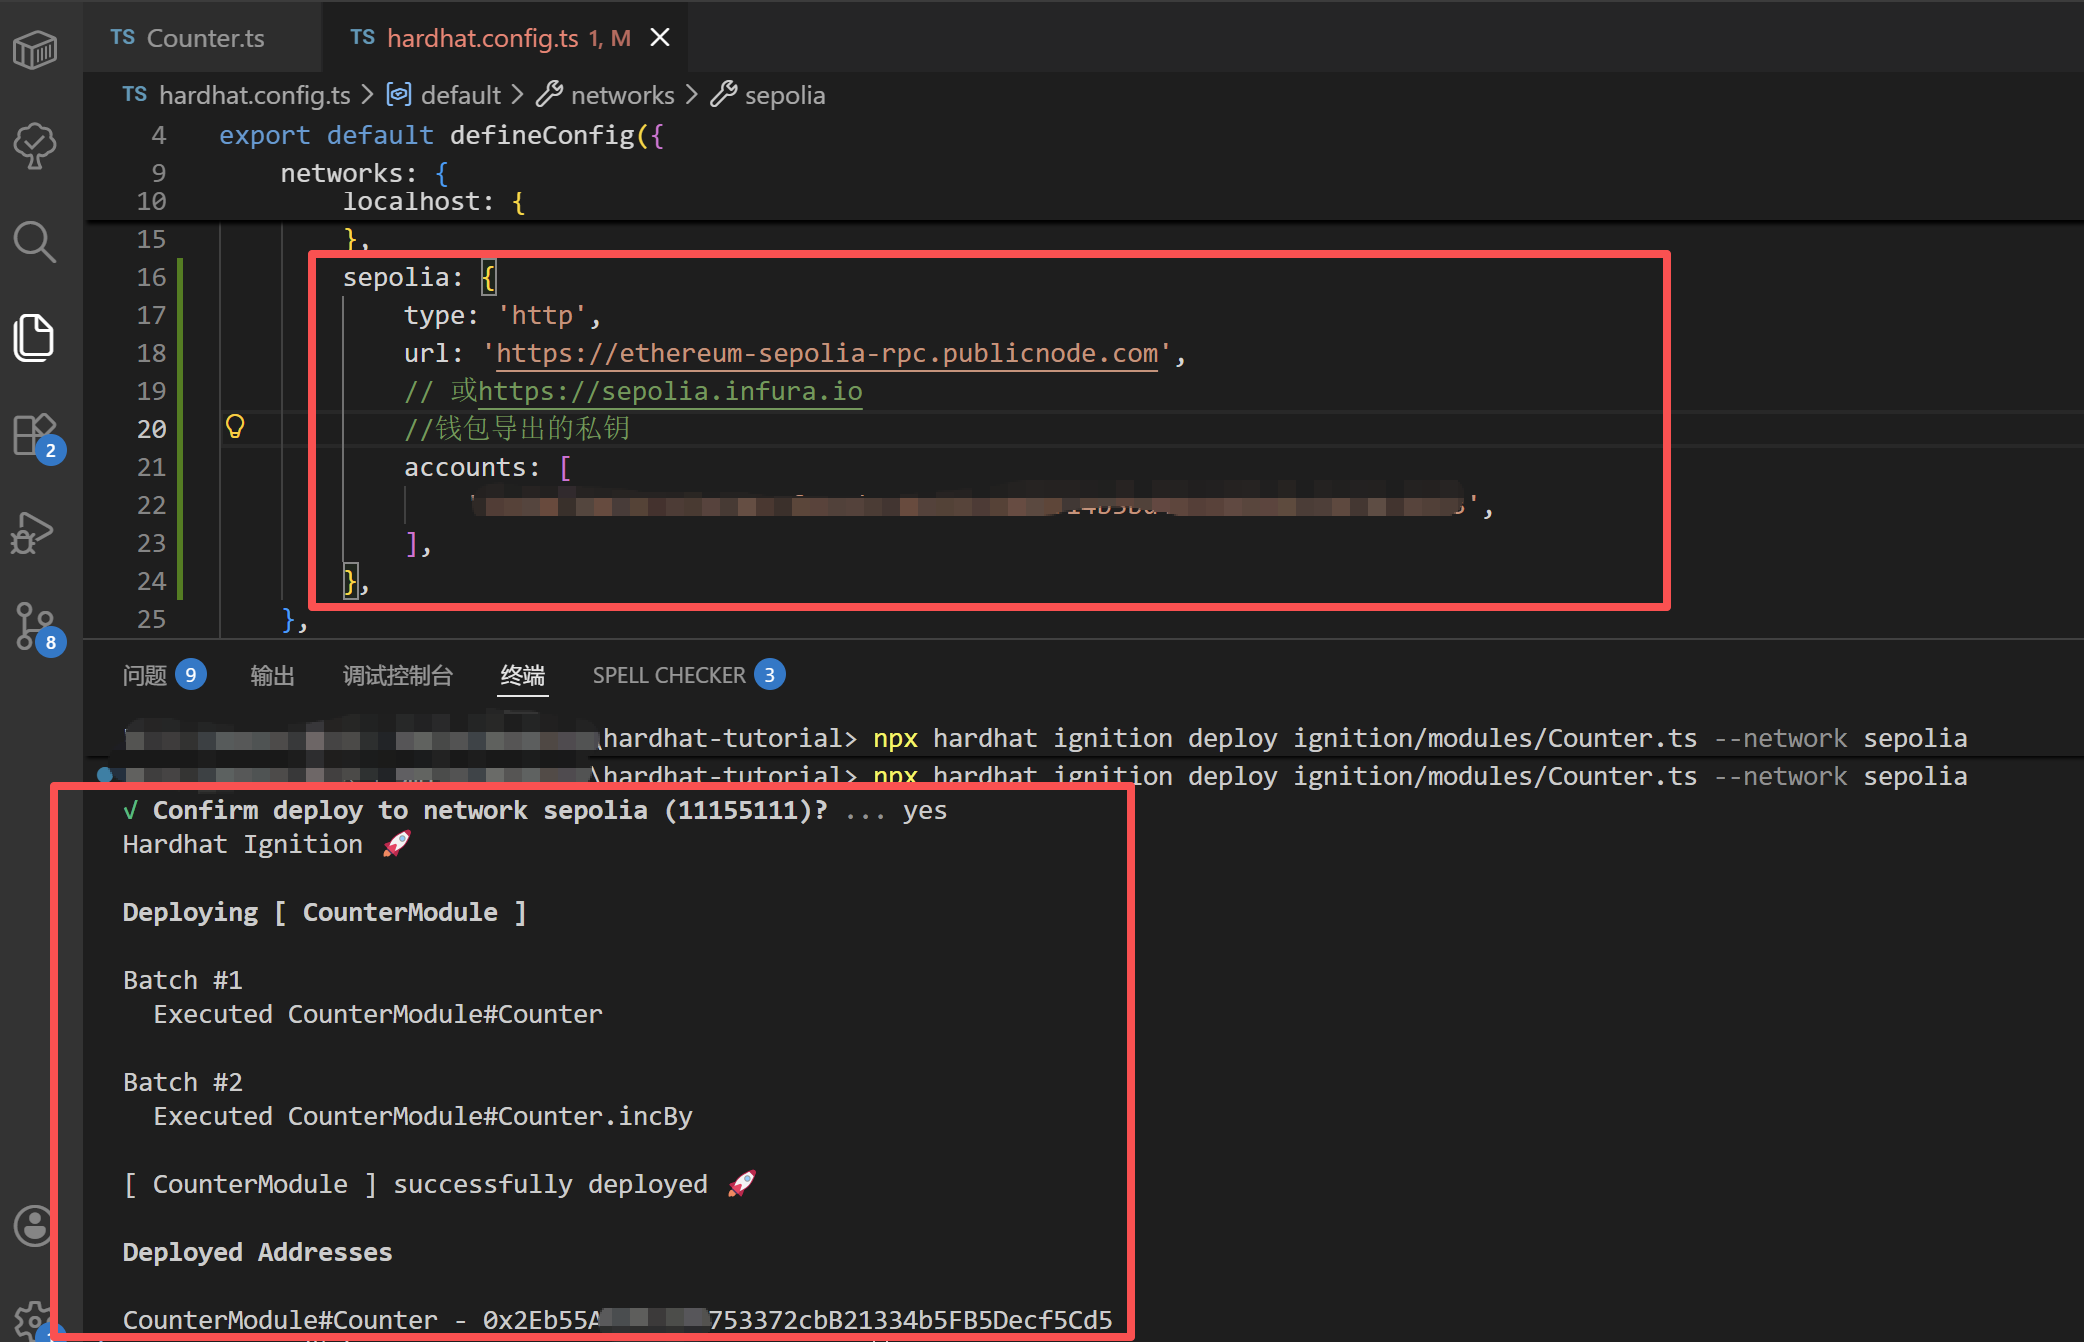
配置hardhat.config.ts后部署到sepolia网络
npx hardhat ignition deploy ignition/modules/Counter.ts –network sepolia
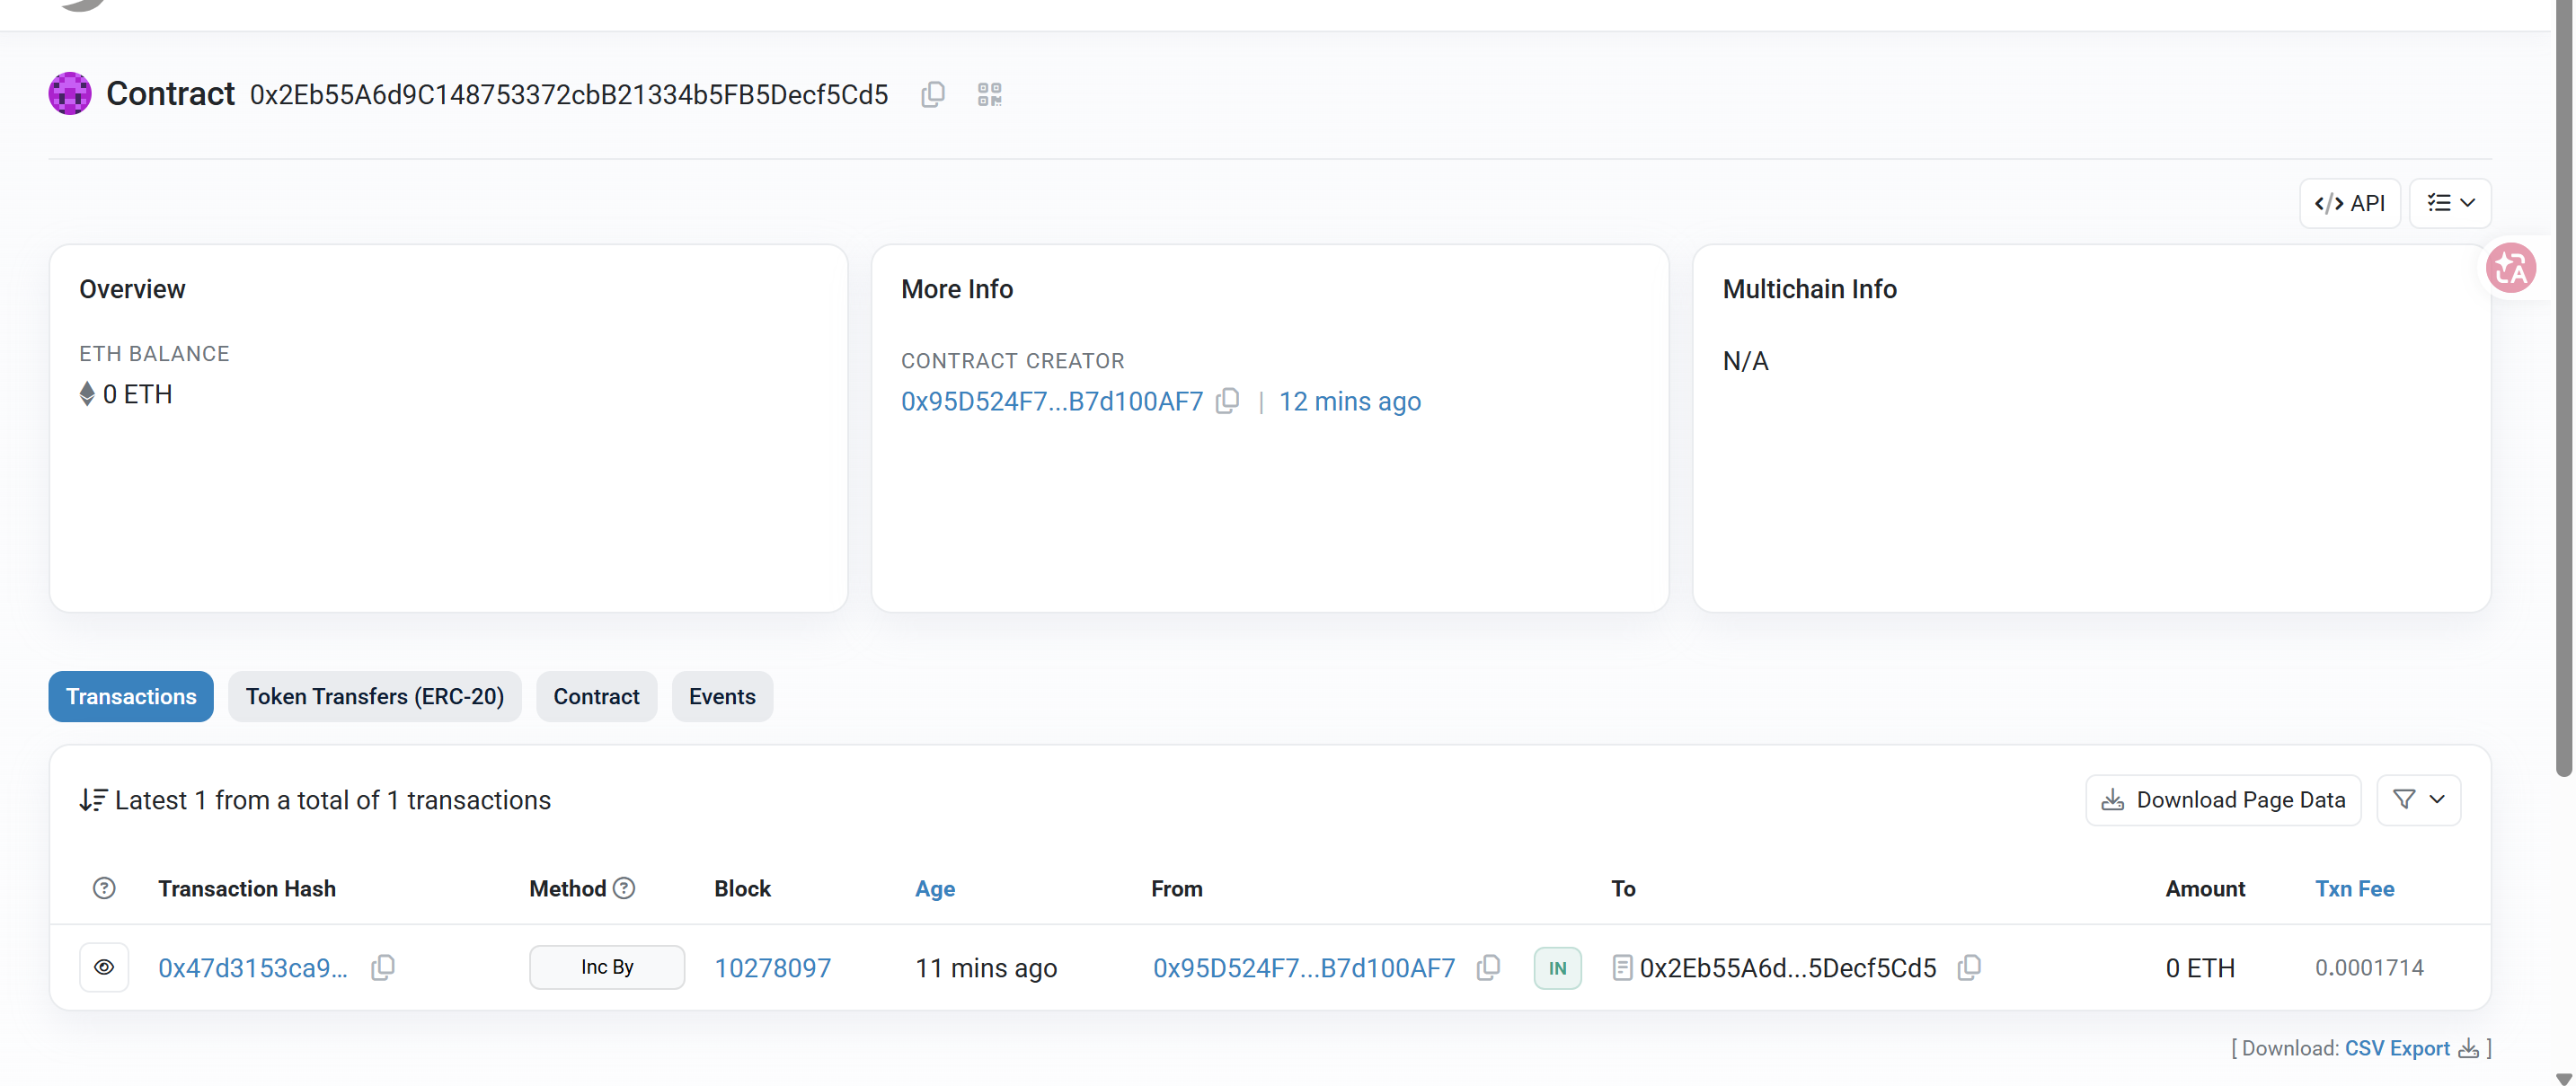
测试网查看部署的合约:
sepolia.etherscan
1
2
3
4
5
6
7
8
|
sepolia: {
			type: 'http',
			url: 'https://ethereum-sepolia-rpc.publicnode.com',
			// 或 https://sepolia.infura.io
			// configVariable('SEPOLIA_RPC_URL'),
			//钱包导出的私钥
			accounts: [configVariable('SEPOLIA_PRIVATE_KEY')],
		},
|
修改配置,将私钥添加到加密密钥库(keystore),不直接配置在文件中(有泄露风险),添加时,前两个密码是用来加密私钥的。以后每次部署,你只需要输入这个简短的密码,而不需要接触那串长长的私钥。第三个才是私钥:
npx hardhat keystore set SEPOLIA_PRIVATE_KEY

修改配置后再次部署:

验证合约
配置ETHERSCAN_API_KEY
1
2
3
4
5
|
verify: {
    etherscan: {
      apiKey: configVariable("ETHERSCAN_API_KEY"),
    },
  },
|
npx hardhat keystore set ETHERSCAN_API_KEY
npx hardhat ignition deploy ignition/modules/Counter.ts –network sepolia –verify